Table of contents
Trust Analysis (optional) Copy link to clipboard
At this point, your item definition is complete, and you can continue with the next steps toward your full TARA like identifying your assets. But you also have the option to integrate more information into your item definition in order to enrich the model, the data flows in particular, and to make the identification of threat scenarios more targeted towards system elements with a possibly higher damage potential. In the end, you will ideally assess all of your system elements either way, but this addition gives you criteria for where to focus first.
The Trust Analysis that itemis SECURE offers is based on common approaches in software development. Since automotive development nowadays has huge similarities with classical software development, many customers asked for an integration of these ideas into the tool. As said before, the ultimate goal of this step is to enrich data flows and prioritize the system elements in the Threat Scenario Identification phase, but for that, we have to take a few steps back and start with Trust Zones. After we defined the Trust Zones, we can assess our existing components, the data flows will then derive their “Trust Boundary” rating from these pieces of information. To start with the Trust Analysis on the level of a TARA model, you have to have a Trust Model. See the respective section of the Method Configuration chapter for details.
Therefore the necessary steps for a full Trust Analysis are:
- Define a Trust Model with Trust Levels (see last chapter)
- Define Trust Zones for your modeled system
- Link Components to the Trust Zone they belong to
- Verify the calculated Trust Boundaries for your Data Flows
- Utilize the Interaction Assistant to profit from the resulting Trust Boundaries
Trust Zones Copy link to clipboard
The first step towards a trust analysis is to create Trust Zones in the Trust Zone Chunk. This is a specific chunk that cannot contain any other types of the item definition but only trust zones. A trust zone has a name, a title, defines which trust level from a trust model it represents, and contains trust zone children. This way you can create a hierarchy of Trust Zones that must go from low trust levels on the outer end and higher trust levels for the inner zones. An inner zone cannot define a lower trust level, as this would compromise the trust levels of the other zones. Nesting Trust Zones with trust levels of equal trust rating is fine.
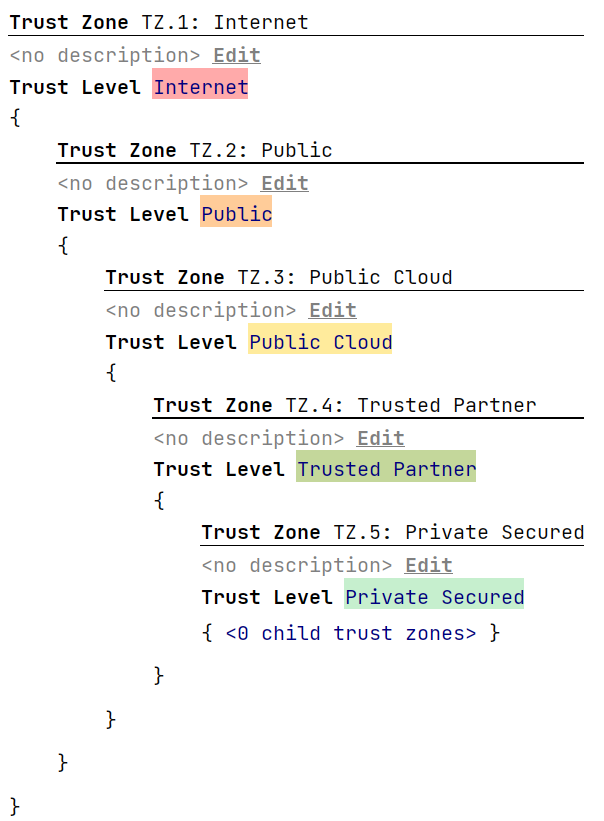
Conceptually it is important to observe the differences here between a trust level and a trust zone. A trust level is an abstract concept that speaks of general trustworthiness. It’s not much more than a level of trust you can put into some parts of your system. It’s so generic, that you will most likely have developed one trust model in your company and reuse the same semantics for all your projects. A trust zone on the other hand is specific to a single project. It’s even a part of your item definition in the sense that (semantically) components reside inside trust zones and trust zones reside inside components. While a trust level is unique (by its name), several trust zones may (and sometimes will) exist that represent the same trust level. If we think about the default trust level Trusted Partner, this should be immediately obvious. With several partners of yours, you can define several trust zones, one for each partner or supplier, that will all represent the same trust level but different partners. Then, if for example your own secured components are placed on or contained inside the supplied artefacts from several suppliers or if within several clouds there are trusted vaults that may respond to certain API calls, you will also have several more trusted zones inside these Trusted Partner or Public Cloud zones. The same can apply to any defined trust level.
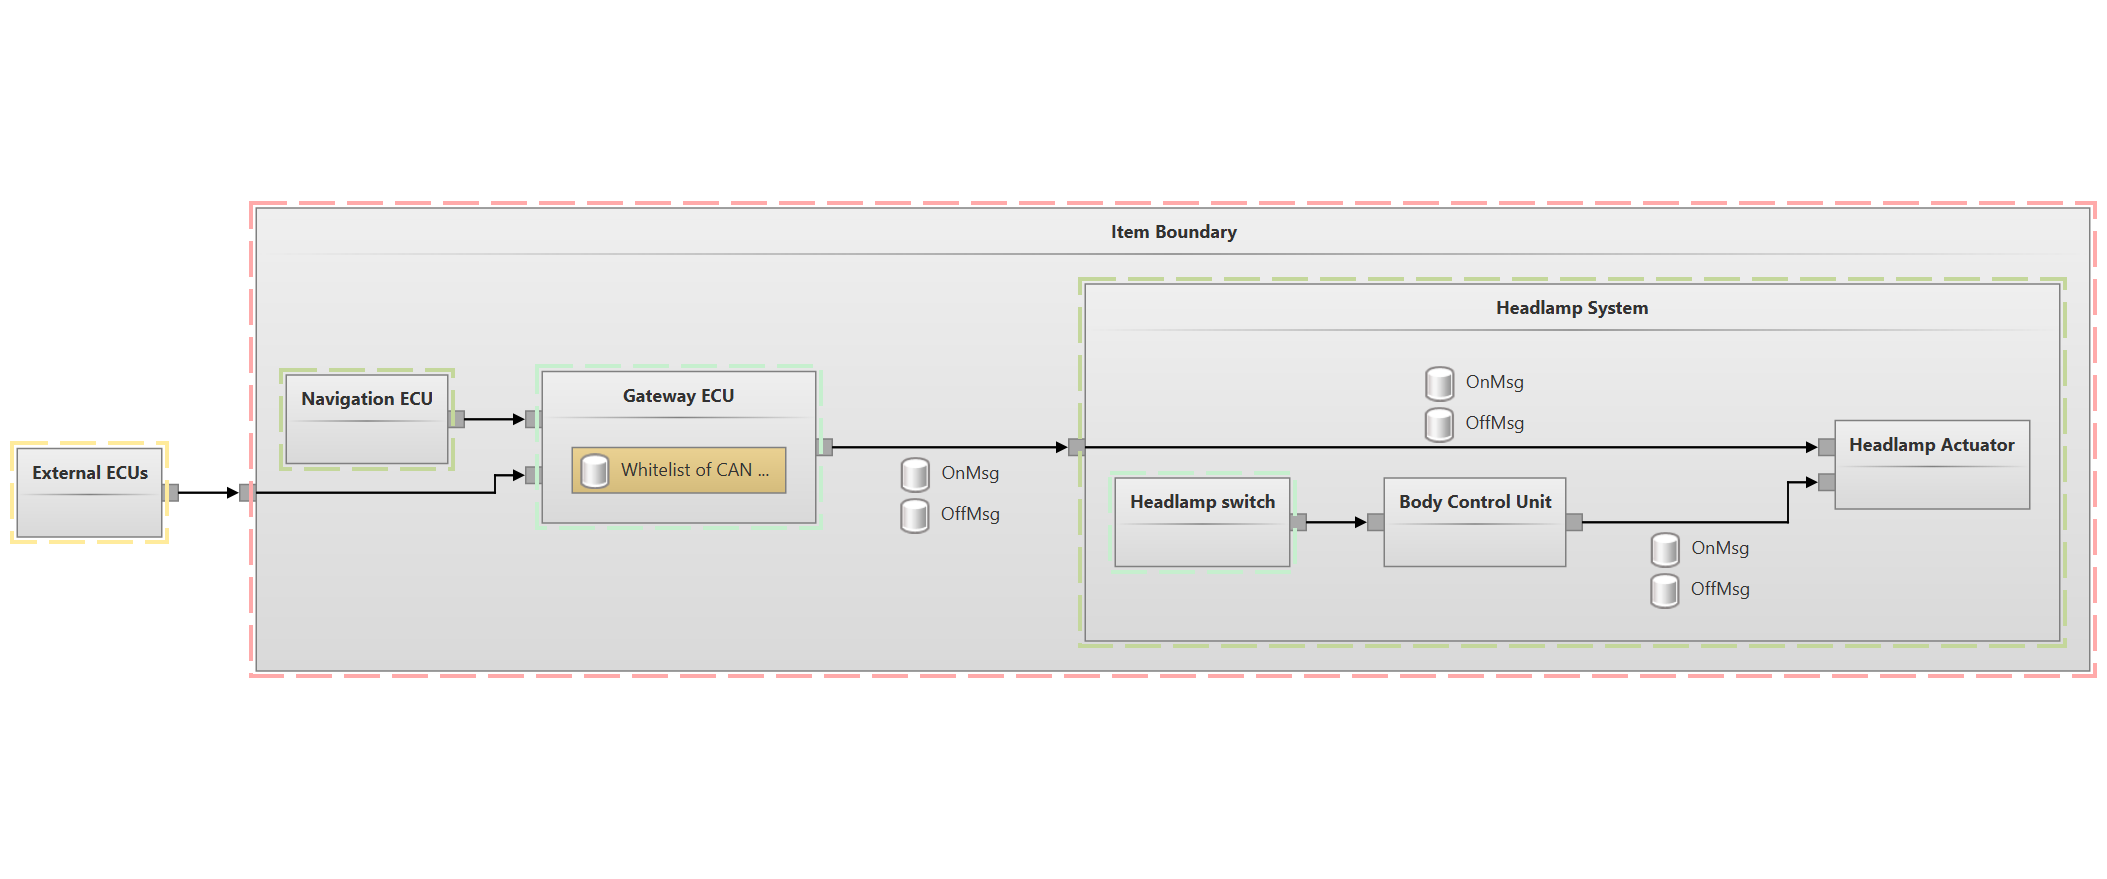
Take this enriched system diagram of the ISOExample. Unfortunately, it is currently not part of the feature set of itemis SECURE to visualize such diagrams, but we are working on incorporating these highlights in a future release. As you can see here, different components / component hierarchies reside in different trust zones, and within the hierarchy of a component, there can be an inner zone. When defining your trust zones and subsequently assigning them to components, it is beneficial to keep such a perspective on your system in mind.
If your trust zone chunk is empty you can invoke an intention on the trust zone chunk to initially populate the chunk with zones representing all defined trust levels. This will not always be the final set of trust zones but alleviates the process of defining your trust zones. With an initial set of trust zones defined, you can customize this by removing zones that don’t fit your current project, duplicate zones where you need several zones of one level, and move zones around, if the proposed hierarchy wasn’t created in the right way.
Configure the Trust Zone of your Components Copy link to clipboard
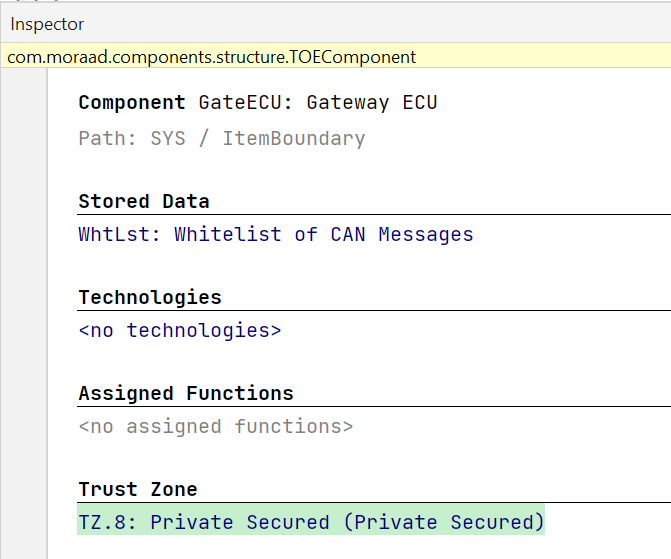
The next step is to link components to these trust zones. In the components chunk, you can specify a trust zone for each component in the Inspector of each component, but you don’t have to link every single component as sub-components will naturally inherit a trust zone from their parents. For this linking process, you again have to make sure that the linking doesn’t violate the trust zone hierarchy you created in the trust zone chunk. A sub-component can only link to sub-zones. See the enriched system diagram shown in the previous section. All components that don’t declare their own trust zone will display the trust zone that they inherited from their parents.
The Trust Boundary of your Data Flows Copy link to clipboard
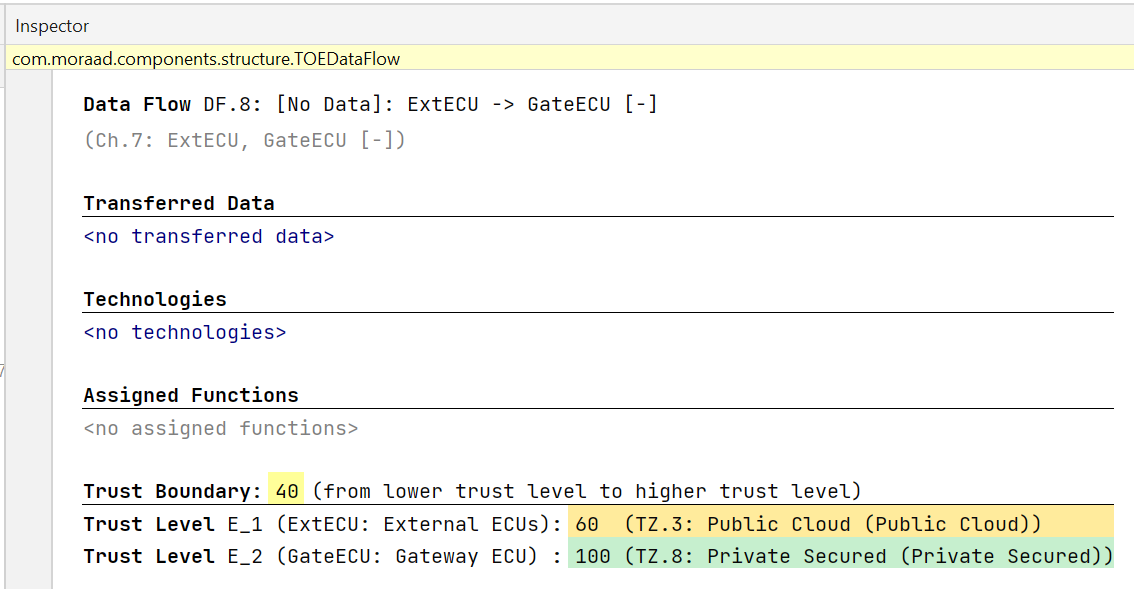
With all (or most) components assessed, you can take a look at your data flows and will see their Trust Boundary rating in each data flow’s Inspector that will indicate, how big the difference in the trust rating between the involved components is. Data flows with higher Trust Boundary ratings therefore indicate that two components with vastly different trust levels are communicating and sharing data. These data flows might need extra attention, as for example, secret data could end up in compromised components that could leak these secrets, or a compromised component could tamper with software updates before they are applied.
Interaction Assistant Copy link to clipboard
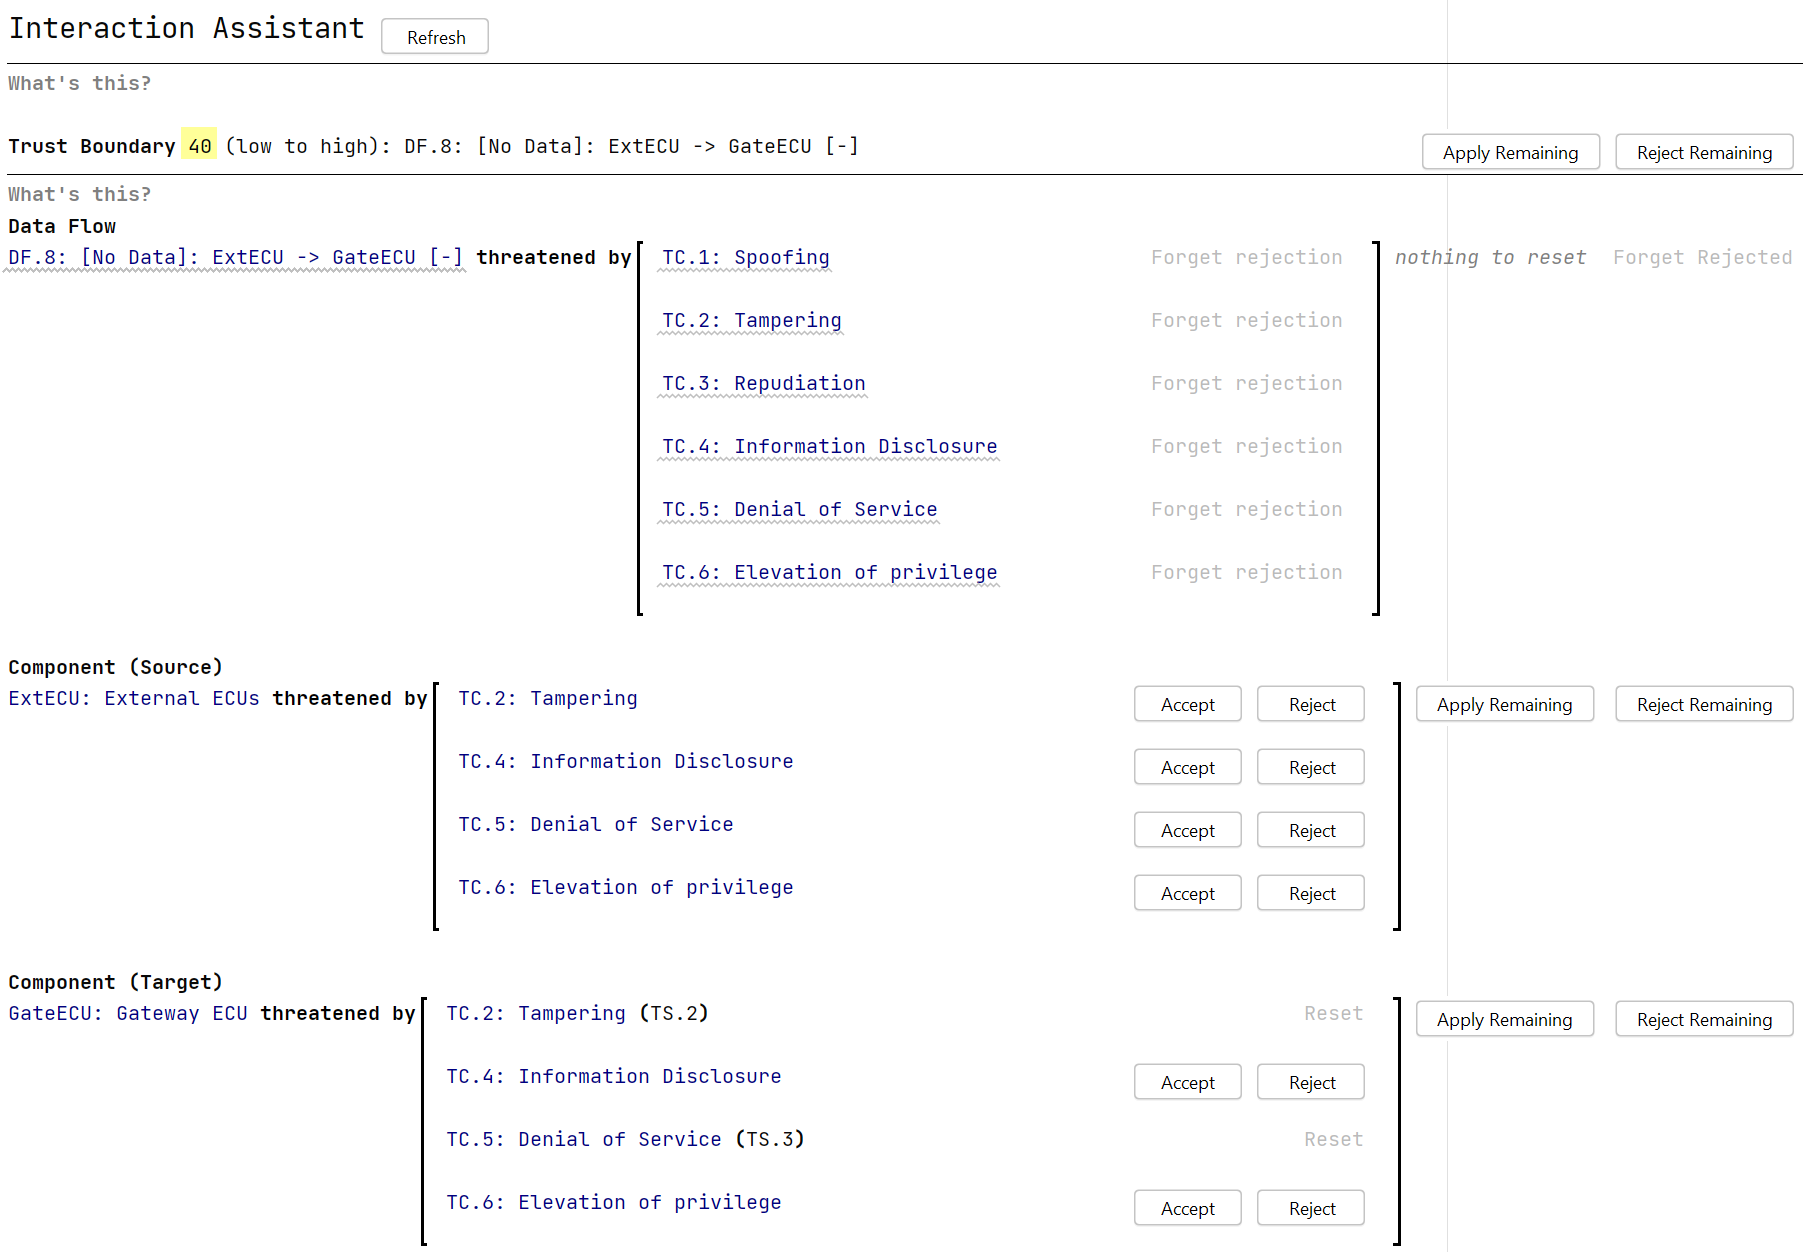
Finally, to take advantage of all the additional work you did to complete the Trust Analysis, you can – after doing your Asset Identification – continue with the Threat Scenario Identification, as described in the following sections, but you now have the option to use the “Interaction Assistant” instead of the basic “Threat Scenario Identification Assistant”. Both assistants apply the same principles, but the “Interaction Assistant” uses a prioritization of the modeled components and data flows according to their Trust Boundary rating.
