Table of contents
Using the example wizard Copy link to clipboard
The example wizard gives you convenient access to the examples in the public itemis CREATE examples repository. You can browse the available examples and read their documentation in the wizard. By a simple click you can instantiate an example as a new Eclipse project. Within such a sample project, you can explore and modify the state machine models using the statechart editor, run the state machines in the simulator, generate source code, etc.
Upon its first invocation, the example wizard downloads the complete examples repository and creates a copy on your local disk. After that, all examples are immediately available to you, even if you are offline. The example wizard will take notice when new examples are available in the online repository and offers to download them. It is also possible to download the examples repository out-of-band and later tell the example wizard where it can find the local copy.
Downloading the examples repository Copy link to clipboard
When you start the example wizard for the first time, it does not yet have any examples available that it could show to you. Thus downloading the online examples repository is required as a special first step.
- In order to start the example wizard, select File → New → Example… in the itemis CREATE main menu. The New Example dialog opens.
- In the New Example dialog, select itemis CREATE Examples, then click on Next >. The example wizard opens.
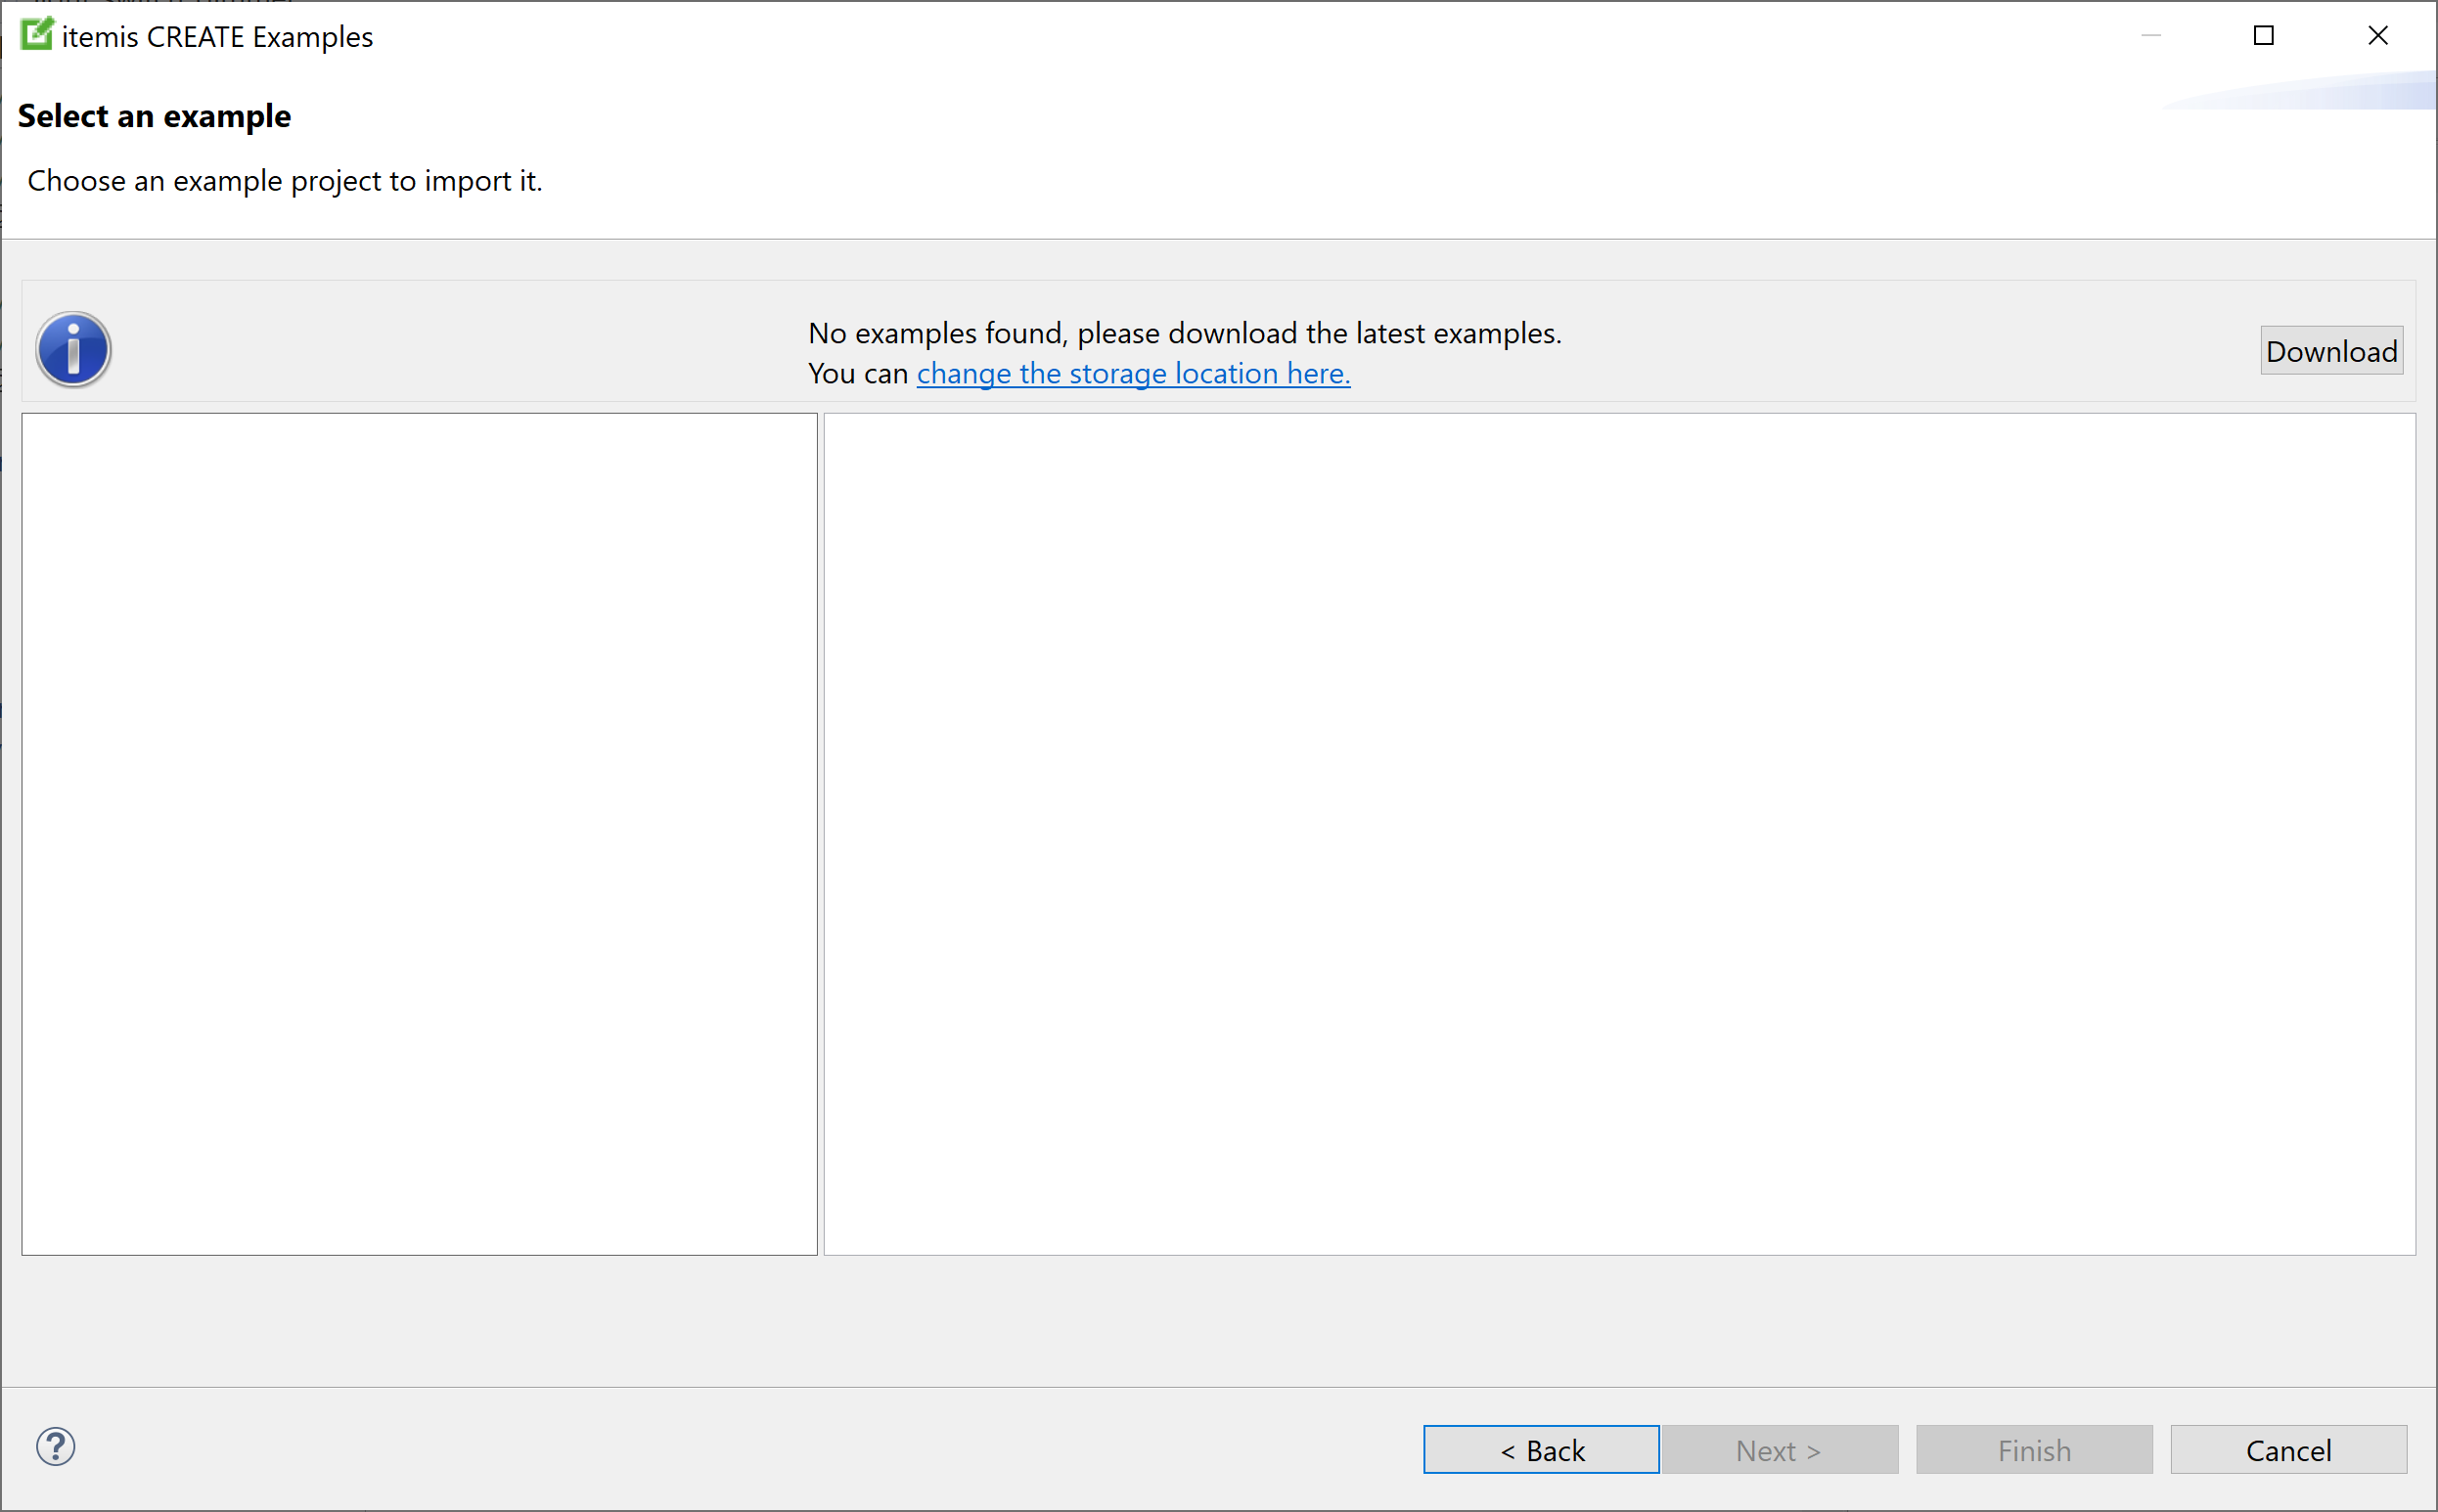
- The example wizard outputs a message saying that it could not find any examples and offers to download them.
- Click on the Download button. The example wizard downloads the online examples repository and creates a clone of it on your local computer. This can take some time. – Downloading can fail for a variety of reasons, not being able to access the Github server being one of them. If this happens, don’t panic – and read how to manually create a local copy of the examples repository.

Example wizard when invoked for the first time
When the download is completed, you can browse the examples repository.
Changing the repository location Copy link to clipboard
You can change the location used by the example wizard to store the online repository’s local clone.
- When the example wizard shows the Download button on its first start, click on the link "change the storage location here". The example wizard’s preferences dialog opens. Alternatively, open Window → Preferences and select itemis CREATE → Example wizard.
- On the examples preferences page, enter the desired directory into the Storage Location text field.
- Click on OK. The dialog closes.
You can change the storage location of your local examples repository clone at any time. In fact, it doesn’t even need to be a clone of the official examples repository. Any directory containing subdirectories with itemis CREATE examples suffices.
- If the directory exists, the example wizard searches it for examples and displays them.
- If the directory does not exist, the example wizard behaves as if being called for the first time. That is, it informs the user that it does not have any examples yet and offers to download them.
Browsing the examples repository Copy link to clipboard
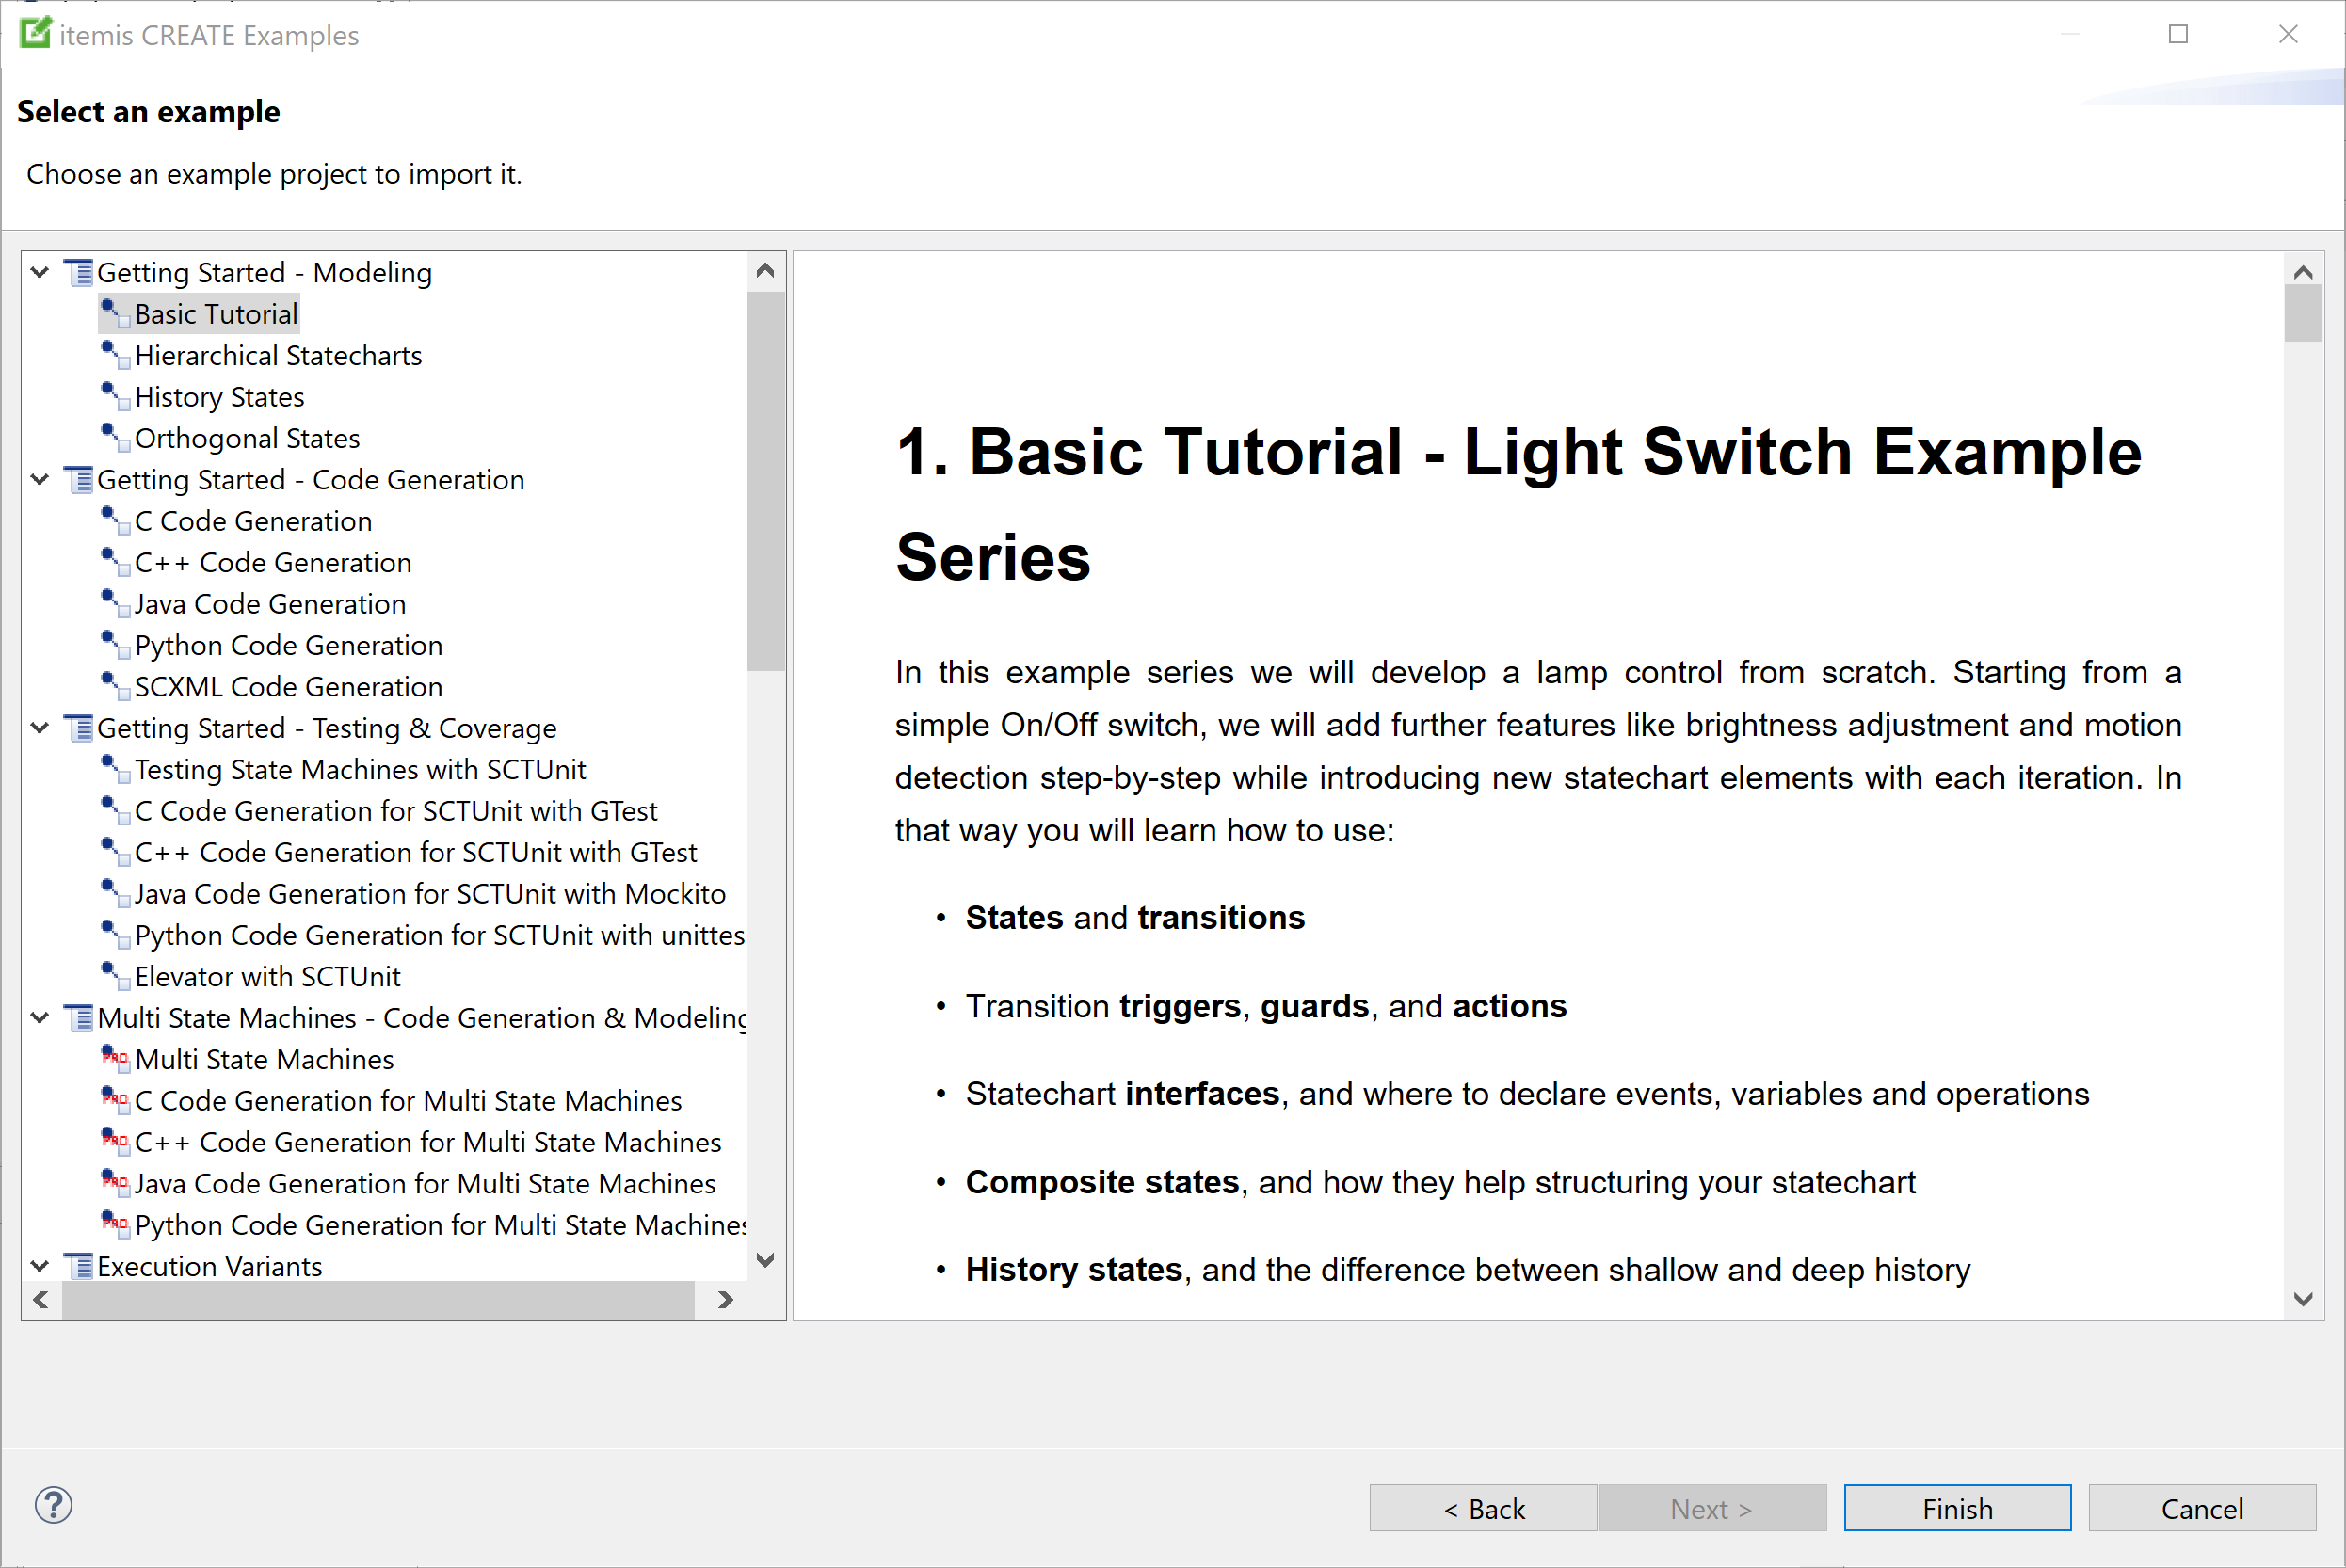
The example wizard shows the available examples on the left-hand side.
Click on an example to select it and show its documentation on the right-hand side.
Click on Finish to create the selected example as a new project in your workspace.

Example wizard showing all available examples
Manually creating a local copy of the examples repository Copy link to clipboard
The example wizard tries to download a copy of the itemis CREATE examples repository and install it on your local machine. However, if your Internet access is restricted or you don’t have Internet access at all, this will fail.
To circumvent this problem, you can
- download the examples repository elsewhere, i. e. on a computer with Internet access,
- copy it to the computer you want to run itemis CREATE, and
- have the example wizard work with that local copy.
Subsequently we will explain the necessary steps in detail.
Downloading the repository as a ZIP archive:
- On a computer with Internet access, go to the examples repository’s release branch.
- Click on the green Clone or download button. A submenu opens.
- In the submenu, click on Download ZIP.
- The download starts and transfers the ZIP archive file examples-release.zip to your computer.
- Copy the examples-release.zip file to the computer without Internet access and continue with the following steps on that machine.
- Unpack the archive file. A directory named examples-release is created, containing the itemis CREATE examples repository.
- In itemis CREATE, select Window → Preferences. The preferences dialog opens.
- In the preferences dialog, navigate to itemis CREATE → Example wizard.
- Click on Browse..., and select the folder that you just extracted from the ZIP file, then click OK.
- On the next try, the example wizard will now show a catalogue of itemis CREATE examples.
Alternatively, you can clone the repository. Cloning the examples repository containing the itemis CREATE examples is more complex than just downloading a ZIP archive. However, you will get certain advantages in return, like the ability to detect and receive updates, the option to create your own examples and submit them as a pull request, or to get hold of the complete history of the examples repository – which could also be considered a drawback, taking its size into account.
- Clone
https://github.com/Yakindu/examples to your local computer. If you are using a command-line tool, the proper command to create the directory
examples on your disk is:
git clone 'https://github.com/Yakindu/examples.git' - Step into that directory:
cd examples - Checkout the
release branch:
git checkout release
Now the examples directory reflects the current release state. - In the itemis CREATE main menu, select File → New → Example…. The New Example dialog opens.
- In the New Example dialog, select itemis CREATE examples and click on Next >. The example wizard opens.
- When the example wizard is opened for the first time, there are no examples on the local disk yet.
- In itemis CREATE, select Window → Preferences. The preferences dialog opens.
- In the preferences dialog, navigate to itemis CREATE → Example wizard.
- Click on Browse..., and select the folder you just cloned, then click OK.
- On the next try, the example wizard will show a catalogue of itemis CREATE examples.
Updating the examples repository Copy link to clipboard
When the example wizard is started and the storage location is a clone of the online examples directory, it checks whether there are any updates in the online examples repository. If new examples are available or existing examples have changed in the online repository, the example wizard offers to update your local examples repository clone accordingly.

Example wizard offering to update the examples repository
- Click on the Update button to update your local repository.
If your storage location is a plain directory and not a clone of the online examples repository, no update will ever be done.
Contributing your own examples Copy link to clipboard
If you have a project that you want to share with the community, you can contribute it as an example. Once the itemis CREATE team has reviewed and applied your contribution, it will be available for all users of itemis CREATE via the example wizard’s update functionality.
For more information on how to contribute examples, please visit our Wiki page.